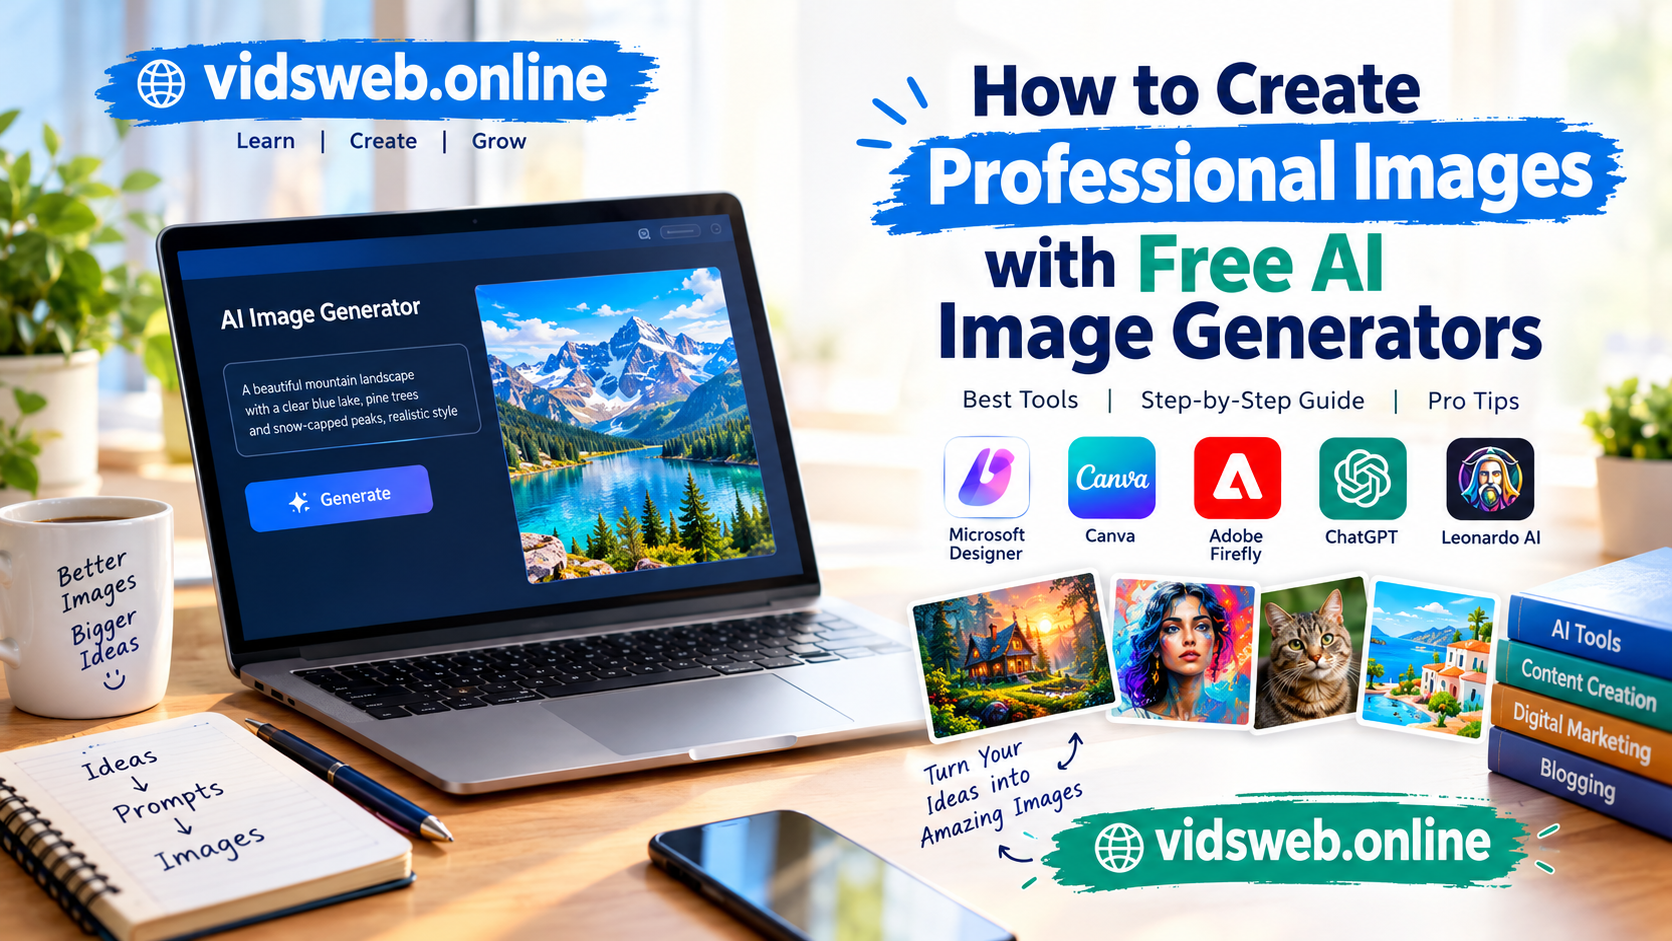
Creating professional-looking images no longer requires expensive design software or advanced graphic design skills. With the help of free AI image generators, beginners, bloggers, students, and small business owners can turn simple ideas into attractive visuals.
For example, you can create a featured image for a blog post, a product concept for an online store, a social media graphic, or an illustration for an educational presentation. The key is to describe your idea clearly and choose the right tool for the job.
However, free AI tools do not all offer the same features. Some provide limited free credits, while others restrict image downloads, editing options, or commercial use. Understanding these differences can help you avoid wasted time and choose a suitable tool.
In this guide, you will learn how AI image generators work, which free options are worth exploring, how to write better prompts, and how to prepare images for websites and social media.
What Is an AI Image Generator?
An AI image generator is a tool that creates images from written descriptions, commonly called prompts. You describe the subject, style, colors, background, and other details, and the tool generates a visual based on your instructions.
For instance, instead of searching for a stock photograph of a modern workspace, you could enter a prompt describing a laptop, a notebook, natural window light, and a clean desk. The AI tool then attempts to create an image matching that description.
Depending on the platform, you may also be able to edit an existing image, remove backgrounds, change visual styles, or generate several variations.
AI-generated images can save time during the creative process. Nevertheless, the final result still needs human review because an image may contain unrealistic details, incorrect text, or visual elements that do not match your original idea.
Best Free AI Image Generators to Try
The following tools are worth exploring for different image-creation tasks. Their free access, limits, and features can change, so check each provider’s current terms before using it.
1. Microsoft Designer and Image Creator
Microsoft’s image-generation features can help beginners turn text descriptions into creative visuals. Depending on the current product experience and account access, users may find options for generating images and designing graphics.
Best for: Blog illustrations, creative concepts, and general-purpose visuals.
How to use it:
- Open the official Microsoft Designer website.
- Sign in if required.
- Find the available image-generation feature.
- Describe the image you want to create.
- Review the generated results and refine your prompt if necessary.
For example, a blogger writing about online learning could request an illustration of a student working on a laptop in a bright, organized study space.
Free access and available generation features may vary by account and region.
2. Adobe Firefly
Adobe Firefly provides AI-powered creative features for generating and editing visual content. It can be useful when you want to explore different artistic directions or develop an image concept before completing a design.
Best for: Creative concepts, marketing visuals, and design experiments.
How to use it:
- Visit Adobe Firefly.
- Check which features are available on the free plan.
- Enter a detailed description of your image.
- Generate and compare the results.
- Download or edit the image if your plan allows it.
For example, a small business could experiment with a clean product-display concept using a neutral background and soft studio lighting.
Remember that free credits and usage conditions can change. Read the applicable terms before using generated images commercially.
3. Canva AI
Canva combines graphic design tools with AI-powered features. This makes it useful when you want to generate an image and then place it inside a finished design, such as a blog banner, presentation, or social media post.
Best for: Blog graphics, social media designs, and promotional materials.
How to use it:
- Open Canva.
- Create a new design in your required dimensions.
- Explore the AI image-generation features available to your account.
- Enter your prompt and generate an image.
- Add headings, shapes, or other design elements where needed.
For example, you could create a visual about AI productivity and then add a short, readable headline using Canva’s text tools.
Some AI features may require credits or a paid subscription. Check the current plan before starting a project.
4. Leonardo AI
Leonardo AI offers image-generation tools for users who want to experiment with different visual styles. Depending on current availability, its features may include image generation, variations, and editing options.
Best for: Stylized illustrations, concept art, and detailed visual experiments.
How to use it:
- Visit Leonardo AI.
- Create an account if required.
- Explore the image-generation tools available to you.
- Describe the subject, environment, lighting, and style.
- Review the output and adjust the prompt to improve the result.
For example, a gaming blogger could experiment with a futuristic city illustration, while an educational website might prefer a simpler, realistic visual style.
Check the current free-plan limits and image-usage terms before relying on the platform for regular publishing.
5. Ideogram
Ideogram is an option to explore when your image concept includes prominent lettering or a text-based design. Its performance and available features depend on the specific prompt and current platform capabilities.
Best for: Poster concepts, typography-focused graphics, and text-led creative designs.
How to use it:
- Visit Ideogram.
- Sign in and check the available generation options.
- Describe the image and specify any text that should appear.
- Review the spelling and layout carefully.
- Export the result if permitted by your account.
Even when a tool handles lettering well, always proofread the final image. Incorrect spelling or distorted words can make a professional design look unfinished.
How to Write Better AI Image Prompts
The prompt is one of the most important parts of AI image generation. A vague description can produce a generic result, while a well-organized prompt gives the tool clearer creative direction.
A useful prompt usually explains five things:
- Subject: What should appear in the image?
- Setting: Where is the subject located?
- Style: Should the image look realistic, illustrated, minimalist, or cinematic?
- Lighting and colors: What mood or color palette should it have?
- Composition: Where should the main subject appear, and where should empty space remain?
You do not need complicated technical language. Specific, natural descriptions often provide a good starting point.
Example 1: Professional Blog Featured Image
Instead of writing:
“AI technology image”
Try this more detailed prompt:
“Create a professional editorial illustration about artificial intelligence for a technology blog. Show a modern computer workstation with a laptop displaying abstract AI-inspired graphics, subtle blue and violet lighting, a clean background, balanced composition, and clear empty space on the left for a headline. Use a polished, modern visual style, a wide horizontal composition, and no logos or watermarks.”
Why this prompt is better: It identifies the subject, purpose, colors, layout, and intended use. You can change the colors and composition to match your website’s branding.
Example 2: Product Image for a Small Business
“Create a realistic studio-style product photograph of a plain reusable water bottle standing on a light-colored surface. Use soft natural lighting, a simple neutral background, realistic shadows, and a clean commercial photography style. Keep the bottle centered and avoid labels, logos, and decorative text.”
This prompt works as a concept for a product visual. However, if you sell a real product, do not present an AI-generated representation as an accurate photograph of the actual item when its appearance differs.
Example 3: Educational Illustration
“Create a friendly educational illustration explaining how a student can use artificial intelligence for learning. Show a student studying at a desk with a laptop, notebook, and books. Use a bright, organized room, natural lighting, simple shapes, and a calm blue and green color palette. Keep the composition uncluttered and suitable for a beginner-friendly educational article.”
This type of visual may help readers understand a topic without relying on decorative stock photographs.
A Simple Workflow for Creating Better Images
You can follow the same process for almost any image project.
Step 1: Decide the Image’s Purpose
Before opening an AI tool, determine where the image will be used. A blog featured image needs a different layout from a square social media graphic or a product thumbnail.
Write down the main subject, intended audience, and message you want to communicate.
Step 2: Choose the Right Tool
Select a tool according to your requirements. For example, Canva may be convenient when you need to generate an image and add text to it. Another generator may be more suitable for experimenting with artistic styles.
There is no single tool that produces the best results for every task.
Step 3: Generate Multiple Variations
Your first result may not match your expectations. If the tool permits, generate additional versions or modify the prompt.
Change one or two details at a time, such as the background, lighting, camera angle, or amount of empty space. This makes it easier to identify which changes improve the image.
Step 4: Inspect the Final Image
Before publishing, check for:
- Distorted hands, faces, or objects.
- Inconsistent shadows and reflections.
- Incorrect lettering or unwanted symbols.
- Unintended logos or watermarks.
- Visual details that contradict the article.
- Unnecessary clutter around the main subject.
An attractive image is not automatically an accurate image. Human review remains important.
Step 5: Edit and Export
If needed, use an editor to crop the image, adjust its composition, add a headline, or make small visual improvements.
Choose dimensions appropriate for the destination. For example, a wide horizontal image is generally suitable for a blog banner, while a square composition may work better for some social media layouts.
Export the image in a suitable format, such as JPEG or WebP for many website images, depending on your site’s requirements.
How to Optimize AI-Generated Images for SEO
Creating a visually appealing image is only part of the process. Proper image optimization can improve usability and help search engines understand the image’s context.
Use Descriptive File Names
Avoid uploading every image with a generic name such as image123.png.
A clearer name for an article about AI image generation might be:
free-ai-image-generators-blog-visual.webp
Use a short, descriptive filename that accurately reflects the image.
Write Useful Alt Text
Alt text describes an image for people who cannot see it and for situations where the image does not load.
An appropriate example might be:
“AI-generated illustration of a laptop on a modern creative workspace.”
Describe what the actual image contains. Do not stuff unrelated keywords into the alt text or repeat the same phrase unnecessarily.
Compress Images Before Uploading
Large image files can slow down a website. Use reasonable dimensions and compress images while maintaining acceptable visual quality.
WebP can be a useful format for website images, although the best choice depends on your site’s compatibility and workflow.
Match the Image to the Article
Your featured image should represent the content readers will find on the page. For example, an article explaining AI image generators should use a visual related to image creation rather than an unrelated business or lifestyle photograph.
For WordPress users, it is also useful to add an appropriate image title and alt text when uploading the featured image.
Are AI-Generated Images Free for Commercial Use?
This is an important question for bloggers, website owners, and small businesses.
Free access does not automatically mean unrestricted commercial use. Each platform has its own terms, and those terms may distinguish between free and paid accounts, different types of output, or particular uses.
Before publishing an AI-generated image, check the following:
- Commercial-use rights: Confirm whether your plan permits the intended use on a monetized website or in business materials.
- Copyright and ownership terms: Understand what the provider says about generated content and applicable legal restrictions.
- Trademarks and recognizable characters: Avoid using protected logos, branded designs, or recognizable fictional characters in ways that could create legal problems.
- Privacy and likeness: Be careful when generating images that resemble real people, particularly for advertising or promotional purposes.
- Provider restrictions: Review the latest usage policies and any applicable content restrictions.
Copyright protection for AI-generated material varies by jurisdiction and circumstances. A platform’s permission to use an image does not necessarily settle every copyright or trademark question.
For a website, original prompts and careful human editing can help you create visuals that fit your content. However, neither approach guarantees that every generated image is legally unrestricted.
Common Mistakes to Avoid
Many beginners focus only on generating an attractive picture. However, a few common mistakes can reduce the usefulness of the final result.
Using vague prompts: A short description may not communicate the intended layout or style. Add meaningful details about the subject and composition.
Publishing without checking: AI images may contain strange objects, visual inconsistencies, or incorrect text. Inspect every image before uploading it.
Ignoring free-plan limits: Some platforms use credits, limit downloads, or reserve certain features for paid subscribers. Check the restrictions before beginning a large project.
Adding too much text: Text-heavy images can become difficult to read on mobile devices. Keep headlines concise and use a separate text editor when necessary.
Ignoring image size: Large files may affect page-loading speed. Resize and compress images before publishing.
Using misleading visuals: An illustrative AI image should not be presented as documentary evidence or a genuine photograph of an event that never occurred.
Frequently Asked Questions
What is the best free AI image generator for beginners?
The right choice depends on your needs. Microsoft Designer, Canva, Adobe Firefly, Leonardo AI, and Ideogram are options worth comparing. Review their current free features and choose the one that fits your project.
Can I create images with AI without graphic design skills?
Yes. Many AI image generators accept ordinary written descriptions. You can begin with a simple prompt and improve the result through small changes. Basic editing skills can help you prepare the final image for publication.
Can I use AI-generated images on my blog?
In many cases, AI-generated images can be used on blogs, but you must check the relevant provider’s terms and any applicable legal requirements. Do not assume every image or free account has identical permissions.
Do AI-generated images help with SEO?
Relevant, properly optimized images can improve a page’s presentation and accessibility. Descriptive alt text, suitable file sizes, and useful image placement are good practices. However, adding AI-generated images alone does not guarantee higher search rankings.
Should I add text directly to an AI-generated image?
It depends on the design. If the image needs a clear headline, generating the background first and adding the text in an editor can provide more control over spelling, font choice, alignment, and readability.
Conclusion
Free AI image generators make it easier to explore visual ideas without needing advanced design skills or expensive software. Whether you are creating blog illustrations, product concepts, educational graphics, or social media visuals, the best results usually come from clear prompts, thoughtful tool selection, and careful editing.
Start with one simple project. Generate a few variations, inspect the details, optimize the final file, and verify the usage terms before publishing it.
Most importantly, focus on creating images that serve a real purpose for your audience. A relevant, accurate, and well-prepared visual is more useful than an impressive image that adds little value to the content.
Explore the tools discussed in this guide, experiment with the example prompts, and develop a workflow that fits your website or business.
Published by Vids Web — Practical AI Tutorials and Digital Tools.