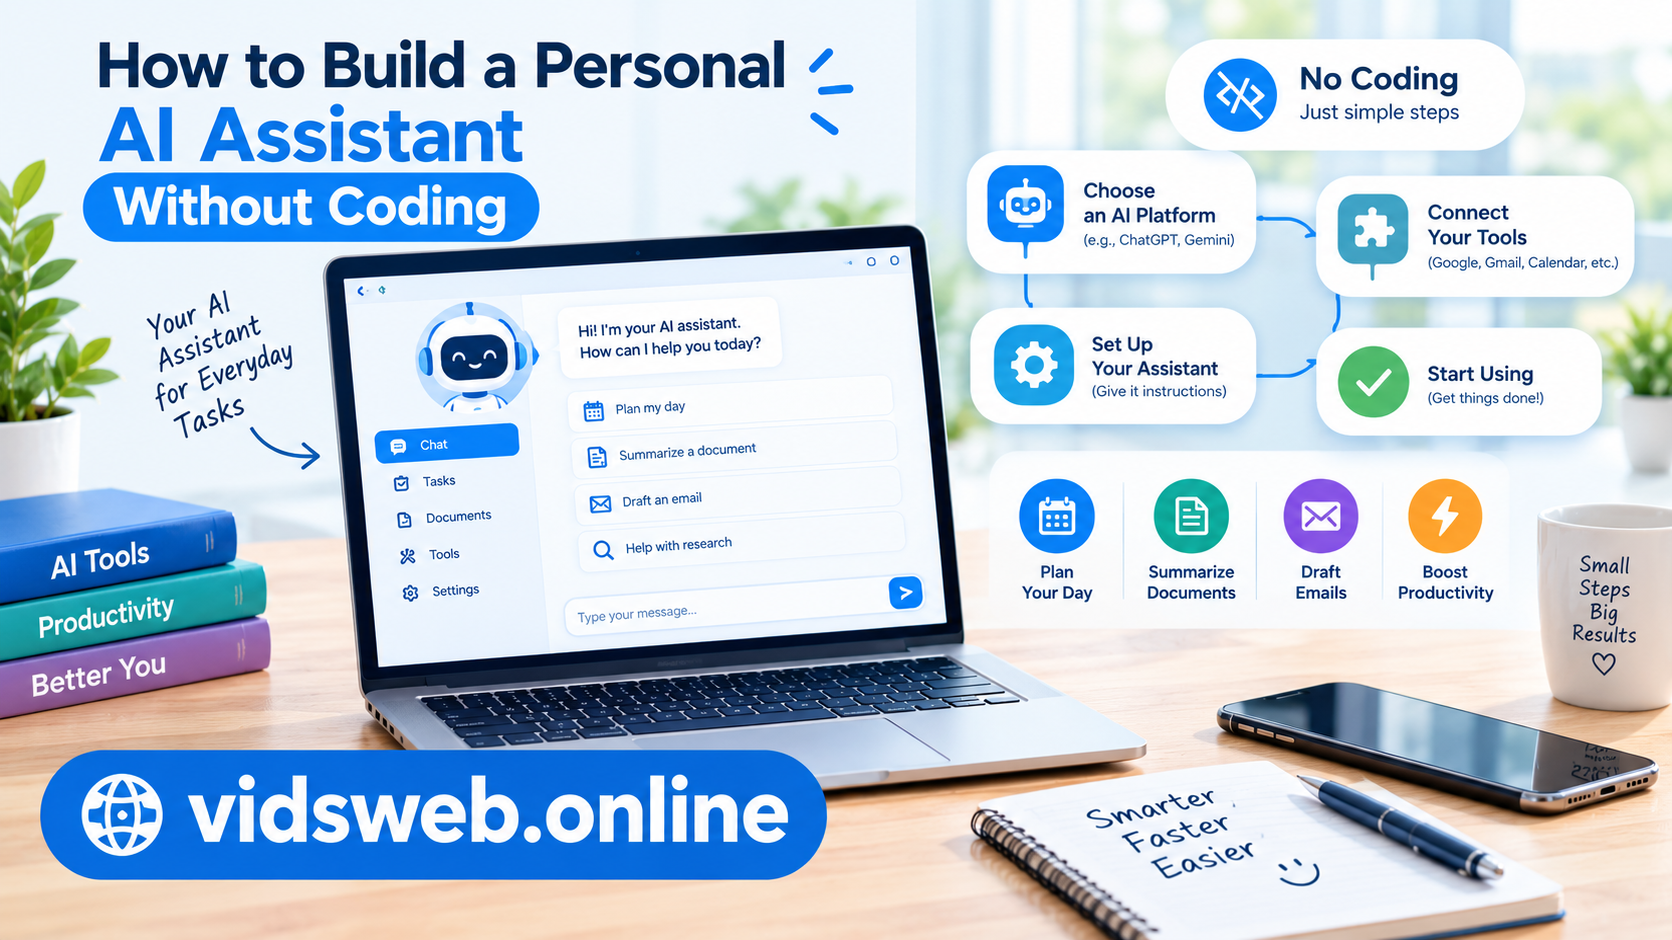
Have you ever wanted an AI assistant that helps you manage daily tasks, write emails, summarize documents, or organize your work? You might think building one requires programming skills, technical knowledge, or a large budget. Fortunately, you can create a simple personal AI assistant without writing a single line of code.
Today, many AI tools allow you to customize instructions, save useful prompts, work with documents, and connect supported applications. These features make it easier for beginners to create an assistant that fits their daily needs.
You do not need to build your own AI model. Instead, you can use an existing AI platform and teach it how to handle specific tasks through clear instructions.
In this guide, you will learn how to build a personal AI assistant without coding, choose the right tools, customize its responses, and test it before using it regularly.
What Is a Personal AI Assistant?
A personal AI assistant is a digital helper that uses artificial intelligence to complete tasks according to your instructions.
A regular AI chatbot can answer different questions, but a personalized assistant can follow a specific role and workflow. For example, you can configure one to help with writing, research, daily planning, or document summaries.
Here are some common ways to use a personal AI assistant:
- Writing: Draft emails, articles, reports, and social media posts.
- Daily planning: Organize tasks, set priorities, and prepare daily schedules.
- Research: Summarize information and organize important findings.
- Document summaries: Extract key points from supported PDF files and documents.
- Learning: Explain difficult topics and create practice questions.
- Business support: Prepare customer replies and organize frequently asked questions.
The features available depend on the AI platform you choose. Some assistants only generate text, while others can work with files or connect to supported applications.
What Do You Need to Build an AI Assistant Without Coding?
You do not need programming experience to create a basic AI assistant. You only need an AI tool, a clear purpose, and a few minutes to set up and test your instructions.
Before you begin, prepare these things:
- An AI platform: Choose a tool that supports the tasks you want to complete.
- A clear goal: Decide what your assistant should do.
- Useful instructions: Explain how it should respond and what it should avoid.
- Reference information: Prepare relevant documents or examples if needed.
- A testing process: Check whether its answers are accurate and useful.
For your first assistant, choose one simple task. You can always add more features after the basic version works well.
Step 1: Choose the Right AI Tool
The first step is choosing a platform that matches your needs and budget. You do not need to try every available AI tool. Start with one that can handle your main task.
<box gap={3}>
<row align=start gap={3}>
<AsyncImage query=”ChatGPT official app logo” aspectRatio=”1:1″ maxWidth=”76px”/>
<box flex=”1″ gap={1}>
**ChatGPT**
  Useful for writing, brainstorming, document analysis, research assistance, and daily planning. Depending on the available features and your account, you may be able to create a custom GPT or use reusable instructions and prompts.

  <text color="secondary" size="sm">Website: [chatgpt.com](https://chatgpt.com/)</text>
</box>
</row>
<divider color=”subtle”/>
<row align=start gap={3}>
<AsyncImage query=”Google Gemini official app logo” aspectRatio=”1:1″ maxWidth=”76px”/>
<box flex=”1″ gap={1}>
**Google Gemini**
  Can help with writing, summarizing, learning, and other supported tasks. Available customization and integrations depend on the current features and your account.

  <text color="secondary" size="sm">Website: [gemini.google.com](https://gemini.google.com/)</text>
</box>
</row>
<divider color=”subtle”/>
<row align=start gap={3}>
<AsyncImage query=”Zapier official brand logo” aspectRatio=”1:1″ maxWidth=”76px”/>
<box flex=”1″ gap={1}>
**Zapier**
  A no-code automation platform that connects supported applications. It can help you build workflows that move information between services and use AI where suitable integrations are available.

  <text color="secondary" size="sm">Website: [zapier.com](https://zapier.com/)</text>
</box>
</row>
<divider color=”subtle”/>
<row align=start gap={3}>
<AsyncImage query=”Make.com official automation platform logo” aspectRatio=”1:1″ maxWidth=”76px”/>
<box flex=”1″ gap={1}>
**Make**
  Offers a visual way to connect apps and create automated workflows without traditional coding. It is more suitable when you want your assistant to do more than answer questions.

  <text color="secondary" size="sm">Website: [make.com](https://www.make.com/)</text>
</box>
</row>
</box>
Which tool is best for beginners?
Start with ChatGPT or Gemini if you want help with everyday questions, writing, or documents. Choose an automation platform later if you need to connect applications or trigger actions automatically.
Check each platform’s current features, pricing, and usage limits before choosing a tool.
Step 2: Decide What Your AI Assistant Should Do
Before setting up your assistant, decide what problem you want it to solve.
For example, if you spend too much time organizing tasks, create a daily planning assistant. If you regularly work with long documents, create an assistant that summarizes them.
Avoid giving your assistant too many responsibilities at the beginning. A clear and focused role is easier to manage.
Here are three examples:
Personal productivity assistant: Organizes your task list, identifies priorities, and suggests a realistic daily plan.
Writing assistant: Helps draft emails, improve grammar, and rewrite complicated sentences in simple English.
Research assistant: Summarizes supplied documents, extracts important points, and identifies questions that need further investigation.
Choose one of these ideas or select another task that you perform regularly.
Step 3: Write Clear Instructions for Your Assistant
Your instructions tell the AI what role to follow, what tasks to complete, and how to present the results.
You do not need special technical language. Simple, direct instructions usually provide a better starting point than vague requests.
For example, instead of writing:
“Help me with everything.”
Write:
“You are my personal productivity assistant. Help me organize tasks, identify priorities, break large projects into smaller steps, and prepare realistic daily plans. Ask questions when important information is missing.”
The second instruction gives the assistant a clear purpose.
A ready-to-use AI assistant prompt
Copy the following prompt and replace the task with your own needs.
Personal AI assistant instructions
“You are my personal AI assistant. Your main job is to help me with [write your main task here].
Follow these instructions:
- Understand my request before preparing an answer.
- Give clear and practical suggestions.
- Use simple English and short paragraphs.
- Break complicated tasks into easy steps.
- Do not invent facts, dates, figures, or sources.
- Tell me when information is missing or uncertain.
- Ask questions if you need important details.
- Do not claim that you have completed an action unless it has actually been completed.
- Ask for my approval before taking important external actions.
Keep your answers focused on my main goal. When I provide a task, prepare a useful result that I can review and edit.”
Replace the bracketed section with a specific task, such as writing emails, summarizing documents, or planning your day.
You can reuse these instructions in a normal AI conversation or save them in a supported custom assistant feature.
Step 4: Give Your Assistant Useful Information
A personal AI assistant can become more helpful when you provide the information it needs to complete a task.
For example, a writing assistant may benefit from examples of your preferred writing style. A study assistant may need your course notes. A business assistant may need approved product details and answers to common customer questions.
Depending on your chosen platform, you may be able to upload files, paste text, or connect an approved information source.
Example: Create an AI assistant for PDF summaries
Suppose you often read long reports and want to save time.
You can upload a supported PDF and ask your assistant to provide:
- A short summary of the document.
- The main points.
- Important dates and figures.
- Any conclusions supported by the text.
- Questions that the document does not answer.
Use this prompt:
“Read the document I provide and summarize it in simple English. List the main points, important figures, and key conclusions. Use information supported by the document, and tell me when an answer cannot be found. Do not invent facts or references.”
Always check important figures and conclusions against the original document. AI tools can misunderstand text, especially in scanned PDFs or poorly formatted files.
Also, avoid uploading confidential information unless you have checked the platform’s privacy settings and are authorized to share it.
Step 5: Customize Your Assistant’s Responses
A useful personal assistant should provide answers in a format that suits your needs.
For example, you may prefer short answers for everyday questions but detailed explanations for research. You may also want tables for comparisons and numbered steps for instructions.
Add these preferences to your instructions.
For example:
“Use simple English and clear headings. Put the most important information first. Use bullet points for lists and numbered steps for procedures. Avoid unnecessary repetition. When comparing options, explain the main advantages and limitations of each.”
You can also ask your assistant to use a particular tone, such as friendly, professional, or educational.
Test these preferences with real requests. If the answers are still too long or too complicated, update the instructions to make your expectations clearer.
Step 6: Test Your AI Assistant Before Using It Regularly
Do not assume that your assistant will work correctly just because you have written good instructions.
Test it with three to five tasks that you actually need help with.
For a daily planning assistant, you could ask it to:
- Organize a list of unfinished tasks.
- Create a schedule based on your available time.
- Break a large task into smaller steps.
- Identify missing deadlines.
- Suggest which tasks should be completed first.
Review the answers carefully.
Does the assistant follow your instructions? Does it preserve important details? Does it make unrealistic assumptions? Does it ask questions when necessary?
If you notice a problem, improve the instructions and test again.
For example, if the assistant regularly creates schedules that are too busy, tell it to consider your available hours and include realistic breaks.
This simple process can make your assistant more useful over time.
Step 7: Save Your Assistant for Future Use
Once your instructions work well, save them so you do not need to write everything again.
Depending on the platform, you can use a custom assistant, saved instructions, a reusable prompt, or a workflow.
Give your setup a clear name, such as:
- Daily Planning Assistant
- AI Writing Assistant
- PDF Summary Assistant
- Research Helper
Keep a copy of your instructions so you can update them when your needs change.
If your account supports custom assistants, follow the platform’s current setup instructions. If that feature is unavailable, a saved prompt can still provide a simple no-code alternative.
Step 8: Add Automation When You Are Ready
A basic AI assistant usually responds when you provide a request. Automation can allow certain tasks to start when an event occurs or information arrives from another application.
For example, a supported workflow might take information submitted through a form, generate a summary, and save the result in another application.
Tools such as Zapier and Make can help connect supported services through visual workflows.
However, automation may require additional configuration, permissions, or a paid plan. It is not necessary for every personal assistant.
Start by using your assistant manually. Once you know that it produces useful results, consider automating one repetitive task.
For safety, review important actions before allowing an automated workflow to send messages, publish content, delete files, or change records.
Step 9: Protect Your Privacy
Your AI assistant may handle personal notes, business information, or uploaded documents. Protecting this information should be part of your setup.
Follow these basic precautions:
- Never share passwords or verification codes with an AI assistant.
- Avoid uploading sensitive documents unless the service is appropriate for that information.
- Review the permissions requested by connected applications.
- Give integrations only the access they need.
- Check important information before using it.
- Keep human approval for consequential decisions and actions.
AI assistants can generate incorrect answers even when they sound confident. For important financial, legal, medical, or business decisions, verify the information using reliable sources or qualified professionals.
A Simple Personal AI Assistant You Can Build Today
If you are new to no-code AI, start with a daily planning assistant. You can create a basic version using a normal AI chat without connecting any external applications.
Follow these steps:
- Open your preferred AI tool.
- Copy the prompt below.
- Replace the example task list with your own.
- Review the suggested plan and make any necessary changes.
- Save the prompt for future use.
Daily planning assistant prompt
“You are my daily planning assistant.
I will provide a list of tasks, deadlines, and available time.
Your job is to:
- Organize tasks by priority.
- Identify deadlines and urgent work.
- Break large tasks into smaller steps.
- Suggest a realistic order for completing them.
- Identify missing information and possible scheduling problems.
Present the result in a table with four columns: Task, Priority, Estimated Time, and Next Action.
Do not invent deadlines or assume I can complete every task today. Ask questions when important information is missing.
My tasks for today are:
[Paste your task list here.]”
This is a simple way to build a personalized AI assistant without coding. You define the job, provide clear instructions, and review the results. Once the basic version works well, you can explore other features.
Frequently Asked Questions
Can I build a personal AI assistant without coding?
Yes. Many AI platforms let you customize instructions, save prompts, and work with documents without programming. You can start with a single task and add features as needed.
Is it free to build a personal AI assistant?
A basic assistant may be possible with free AI features. However, custom assistants, advanced models, file uploads, and automation integrations may have usage limits or require a paid plan.
What is the easiest AI assistant for beginners?
A reusable prompt in ChatGPT or Gemini is a simple starting point. You can define the assistant’s role, give it instructions, test its responses, and reuse the same setup without connecting other applications.
Can a personal AI assistant access my emails and files?
Some platforms support document uploads and integrations with external applications. Access depends on the available features and the permissions you grant. Always review privacy settings before connecting accounts or uploading files.
Can an AI assistant complete tasks automatically?
Some platforms support automated workflows, but their capabilities vary. Start with manual testing and require approval before allowing important external actions.
How can I make my AI assistant more accurate?
Give it clear instructions, provide reliable reference material, explain your preferred output, and tell it how to handle missing information. Test its responses and verify important claims before relying on them.
Final Thoughts
Building a personal AI assistant without coding is easier when you start with one clear goal. You can create an assistant for writing, research, document summaries, or daily planning using an existing AI tool and a reusable set of instructions.
You do not need to begin with complicated automation or expensive software. Focus on a task that takes time, test your assistant with real examples, and improve the instructions whenever necessary.
A well-configured assistant can help you work more efficiently, but it should not replace your judgment. Review important answers, protect your information, and keep control of decisions that matter.
Start small, learn what works for you, and expand your personal AI assistant as your needs grow.
For more practical AI tutorials and beginner-friendly technology guides, visit vidsweb.online.